10 Tips for planning to live stream an event on location
Written by Paul Richards on May 14, 2018
Having a successful on-site live stream all starts with planning! This presentation reviews in detail 10 keys to planning the perfect live stream at your next on-site location.
- Planning
- Site Survey
- Google Earth the Site Survey – Scott Pienta
- Draw a map of your camera placement – JP Erbricella
- Circle any connections and what they are. Double check all your cables and connectors with this map.
- Make sure every element is covered including Tripods, cables, power supplies and stands.
- Map out video then map out audio
- Create a checklist to strike out all the components once they have been packed. – Ted Langdell
- Set up live show layout
- This includes everything software related to your show. Prepare a manageable set of video assets which can include: intro video, titles, additional video sources, media and other content.
- Power
- Where is your power source? Can you get a clean power source independent from the lighting and sound grids? – Sheldon Hatch
- Cabling
- Any cables longer than 50 feet can go onto spools for easy in and out rigging. This applies to ethernet, power and audio. – Ken Benedict
- Extra Equipment
- Always bring flashlights if the production is going to last into the night
- Bring Gaff Tape to tape down cables. Yellow tapes is used for high traffic areas and black is for everything else. – Ken Benedict
- Weather
- Consider bringing trash bags or tarps to cover your valuable equipment if the
- Show run through with Talent
- Uncover any technical issues and prepare your team with a show walk through
- Site Survey
- Tuning your Equipment
- Lights – Before you start tuning your camera (if needed) make sure all the lighting you are planning to use is on and ready for action.
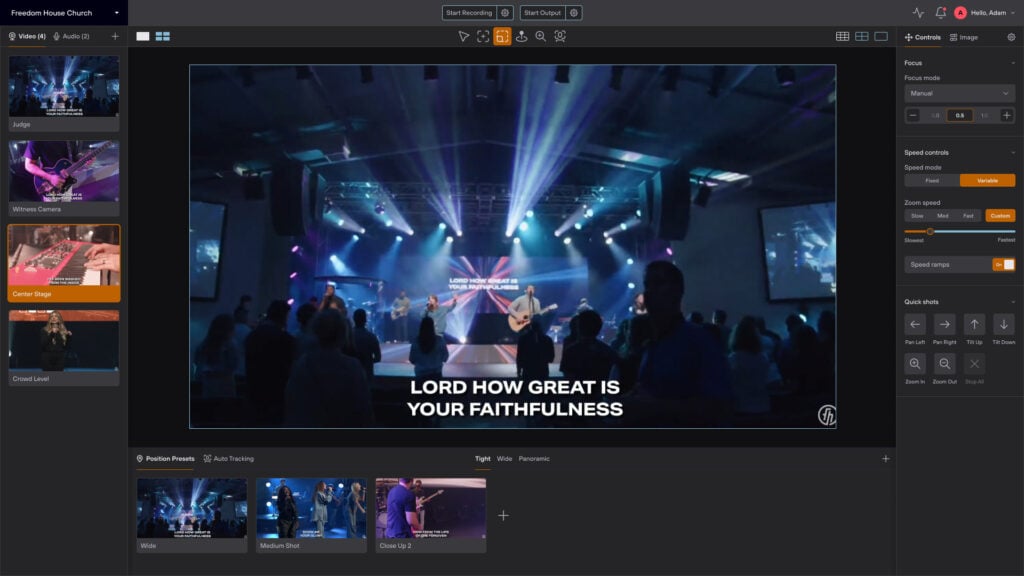
- Camera – Tune you camera to provide a good contrast, luminance, saturation and hue for your room. If you are using a Green Screen with a chroma key background pay special attention to hues and contrast. Your goal is to provide a rich image with strong white and blacks with a wide range of accurately represented colors.
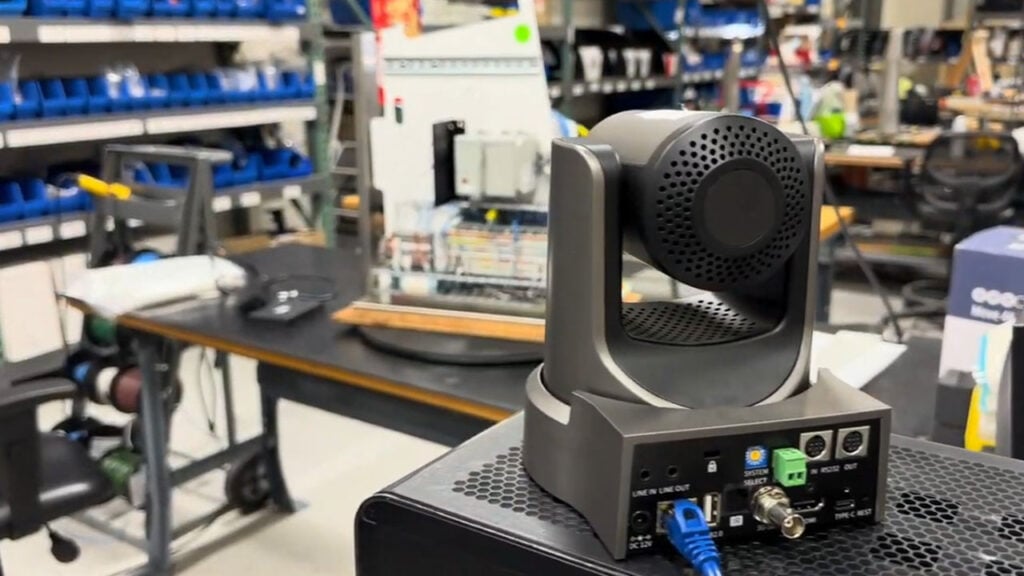
- White Balance: Start with an auto-white balance. This can be done by holding up a white piece of paper and selecting the “one push” white balance feature in any PTZOptics cameras on screen display menu. NOTE: Some software solutions also offer a white balance feature. It’s best practice to tune the image in your camera before tuning with your software.
- Focus: Obviously you want your talent to be in focus but consider whether you actually need to have auto-focus on. If your talent is not going to be moving from their chair your best choice is manual focus. Setting the appropriate focus manually can avoid unintended camera auto-focusing from hand movements and body gesturing. If your talent will be moving around a stage or wide are your best choice is auto-focus. TIP: Avoid swivel chairs and suggest seating your talent on a stool or four legged chair with a short back.
- Video Tutorial on Camera Exposures –
- Microphones – Test your microphone prior to any event. Tuning may only need to be done periodically provided that the microphones are in use in a similar setting. You should hear a wide range of highs and lows. Check you audio meter and make sure your levels are in a safe range without peeking into the “red zone”.
- Green Screens – Using chroma key technology can challenging without good lighting and a reflecting green surface. Assuming you have an ideal green background, select the exact color your camera is outputting to your software with the color picker tool. You can now adjust your settings until you are happy with your chroma key. TIP 1: Using a dark background will help hide any stray pixelation.
- Hard Drive Space Check for Recording
- Are you going to be recording this live stream locally? Locally recorded quality is always better than the outbound live stream. Do you have enough hard drive space for the entire live broadcast? Are you going to have instant replay which uses up additional recording space?
- Start recording early! Better to start early than forget too late!
- Testing Bandwidth
- Test your bandwidth speeds with our free tool available at http://speed.ptzoptics.com
- Optimize your bandwidth and make suggestions for remote guests joining via a video conference call. Refer to our Live Streaming Bandwidth Checklist here: http://ptzoptics.com/landing/live-streaming.html
- Determine the maximum capabilities of your system and choose a video resolution and audio compression streaming configuration
- Don’t use WiFi if you can help it!
- Bring a back up wireless 4G/5G router like the LiveU solo.
- Establishing your live stream
- Make sure to have your RTMP Server and key information ready. You will use this information to start streaming to your CDN (Content Delivery Network)
- It’s best practice to start your live stream at least 20-30 minutes before any event. During this time you should display a countdown timer and some type “Streaming Soon” display with background music. This time before your event is also ideal for giving viewers ample time for receiving automated notifications for your live show.
- Consider using your CDNs API. Custom RTMP streams will sometimes not include all the information networks like Facebook use to power their live streaming MAP for example.
- Social Media Integration
- Are you going to be integrating social media comments into your broadcast? Login to your accounts to pull this data.
- You can also use services like Zapier and Dropbox to automatically publish short clips/recordings during your broadcast to social media sites like Facebook and Twitter. This can drive additional traffic to your live event.
- Final testing
- Test your audio again, but this time listen to the stream as if you were a viewer. Live streams are known for introducing audio syncing issues without rhyme or reason randomly. The good news is that you can add an audio delay to compensate for this issue. If needed add 2000-3000 milliseconds (2-3 seconds) to your audio delay until all syncing issues have been ironed out.
- During your stream
- Keep an idea of your CPU usage. Generally, you do not want to go beyond 50-70%.
- Listen to the audience. Are they asking for a different video angle? Do they want to hear changes in the audio? You might be surprised how technical your audience is.
- During your stream, you may get notifications from your live streaming software about CPU usage. You should always turn off all other programs and disable windows updates.
- Channel Management
- Don’t forget to set up a reasonable “channel blacklist”. This feature will restrict a set of words from being displayed in the chat room.
- Don’t forget to have your live stream displayed in the “schedule” system. You can also configure settings on YouTube to promote your live event on other videos.
- Don’t forget to ask for subscribers and grow your channel during your live event when you everyone’s attention!
- General Tips
- Don’t forget to share your live show on social media
- Don’t forget to save time for Question and Answers from the chatroom. Best practice is reserve a time specifically for Q&A.
- The Outro – What are your business goals? Don’t forget to include a CTA (Call to Action) for your viewers… Is it a free eBook or an upcoming webinar? Maybe simply asking for a new subscriber!
Live Video Troubleshooting Tips
- Tips for troubleshooting your live show – here
- Here’s 10 tips for planning to live stream an event on location outside the studio – here


Continue reading


