Broadcast Club: Video Playback and Editing
Written by Paul Richards on May 7, 2019
Video Playback and Editing
After about one year of broadcasting the school’s sports teams, Lewis started getting calls from coaches asking where they could find the recorded video. Lewis estimated that for every 5 people watching live, there are perhaps 100 people who watch the video replay on-demand. “Even if we only have 5 or 10 people watching live, our videos will generally have a couple hundred views the next day on YouTube” says Lewis. This is of course because not everyone can watch the broadcast clubs’ content while it’s live. Many of the student-athletes study the video after the broadcast to improve upon their skills. Lewis told me that “The students are watching the video after it has been streamed and the coaches are watching as well. They are breaking down parts of the game and trying to determine where they could have done better… Certain coaches will email the students a link to the live stream and say, please watch the live stream again and breakdown certain players on the opposing team… When we live stream a game, and then later on in the season we play that same team again. There are certain sports such as Volleyball, where you can really gain a competitive advantage, looking at certain players, for example, one player may only serve short or they only serve long.”

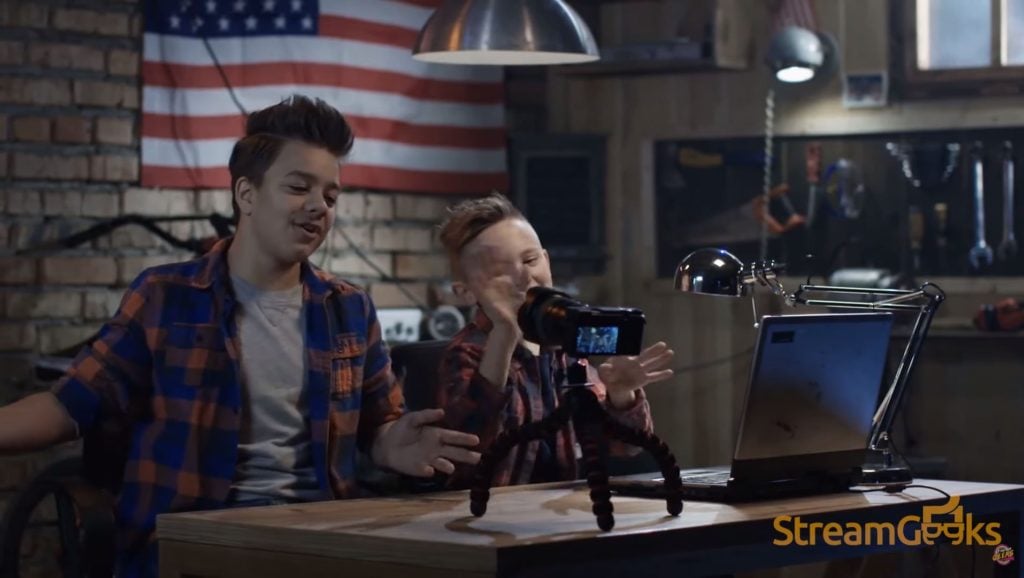
The value of the video playback has been so great that the broadcasting club has started to lend out tripods so that students can record sporting events the club is not scheduled to be part of. At the SAR High School, every student has an iPad, so the broadcast club gives out specific iPad tripods that students can use. “The Wrestling team probably uses the video playback the most. Each individual player whether they won or lost has a million things that they can break down in their match. Some the wrestlers will come and borrow iPad tripods to record the matches themselves. So even if we are not live streaming the event as a school, the students themselves are starting to record their own practices and matches.” Lewis explained to me that the same trends are happening across other sports as well where the students and coaches are asking to have their sporting events recorded on video.
Even outside of sports, the broadcast club has been involved in producing videos for the drama and theater students as well. Over the years since 2014, the club has produced hundreds of hours of live broadcasts that include drama and theatrical performances. Students that graduated from SAR starting in 2014 can look back on these highlights from their high school careers in ways that older generations could only dream of. The drama students are then able to benefit from seeing a production that they are part of from an audience member. Watching their performances from different perspectives help students as they prepare for an upcoming live performance. “There is something about seeing a drama performance that you were a part of from a bird’s eye view that adds significant perspective for student performers” says Lewis.
Live streaming so many school events can require quite a lot of video storage. Lewis says that “Sometimes we live stream practice performances and plays as unlisted on YouTube almost as a ‘backup copy.’ We still record on a local SD card, but if we think the recording was good enough on YouTube… we don’t even need to bother working with the raw footage. We can simply keep the unlisted YouTube link up and send it out to the students depending on what it is.”

It’s quite common for the club to get requests from coaches and teachers for what the club calls “highlight reels.” Coaches especially will send the club requests for specific time stamps inside live streams which the club will edit down into a more digestible format. The club likes to use iMovie for simple video editing and they currently leverage Final Cut Pro for more advanced projects. Keeping with our Adobe Cloud for Education theme in this course we will use Adobe Premiere to quickly edit a live stream down into a highlight reel.

“The first thing we usually do is download our live stream from YouTube. If the video was recorded directly to an SD card this footage will likely be of a higher quality than our YouTube recorded which was live streamed. We can download our YouTube video by going into the creator studio in YouTube by clicking the icon logo in the top right corner of YouTube and clicking ‘Creator Studio.’ Inside Creator Studio we can select the ‘“Video Manager’ and find the video you would like to download for editing. We can click the drop-down menu and select ‘Download MP4’ says Lewis.

Once the club has downloaded the video files, you can drag and drop them into the Adobe Premiere’s “Video Asset Bin.” This is where you can add any files you want to include in your project. Once you have selected the file you are working in the “Video Asset Bin” it will automatically show up in the “Video Preview Selection Area.” If you don’t see the video preview selection area you can check to make sure you are in the “editing” workspace mode. You can then use the video preview selection area to select just the portions of the live stream that you want to include in your highlight reel. This process is just like cutting up a long piece of playdoh. If someone has provided you with time stamps it can be done very effectively. Simply move your timeline slider to the timestamps provided and marking your in and out selections using the marking tools is like slicing bread.

You will notice that the selected area of your video will be highlighted on the preview timeline. You can drag and drop the video or audio from this selection using the tools shown above. You can repeat this process until all the video files you need are in the timeline where you can use your mouse to arrange each clip in the order you like. If you want to use music in the background of your video you can consider using the copyright free music libraries available from both YouTube or Facebook. You can download hundreds of copyright free music from YouTube here – https://www.youtube.com/audiolibrary/music.
If you have a piece of music that you have been given to include in your project you can test whether it will get a copyright strike by uploading the video to YouTube as unlisted. Give YouTube a couple hours to process the video and you will get a notification if the music causes a copyright strike. On YouTube, copywritten music may restrict your video from being played in other countries. Most of the time, YouTube will display ads on top of your video to monetize the video on behalf of the copyright holder. On Facebook, your video will get muted automatically for the duration of the copyrighted content.
Once you have organized all of your video clips and added in your background music, you can go ahead and render this file. I would encourage students in your broadcast club to consider the ability to play short videos inside the live broadcast as a special segment. See if there is someone who would like to report on a project going on at school. You can create short videos with included voiceovers to make visual presentations that are part of your morning announcements show. Click File -> Export -> Media to open up your options for saving your edited video. Choose a resolution that matches your live broadcast or the intended viewing audience and click render.

Continue reading


