Broadcast Club: Mindful Video Production
Written by Paul Richards on May 7, 2019
Mindful Video Production
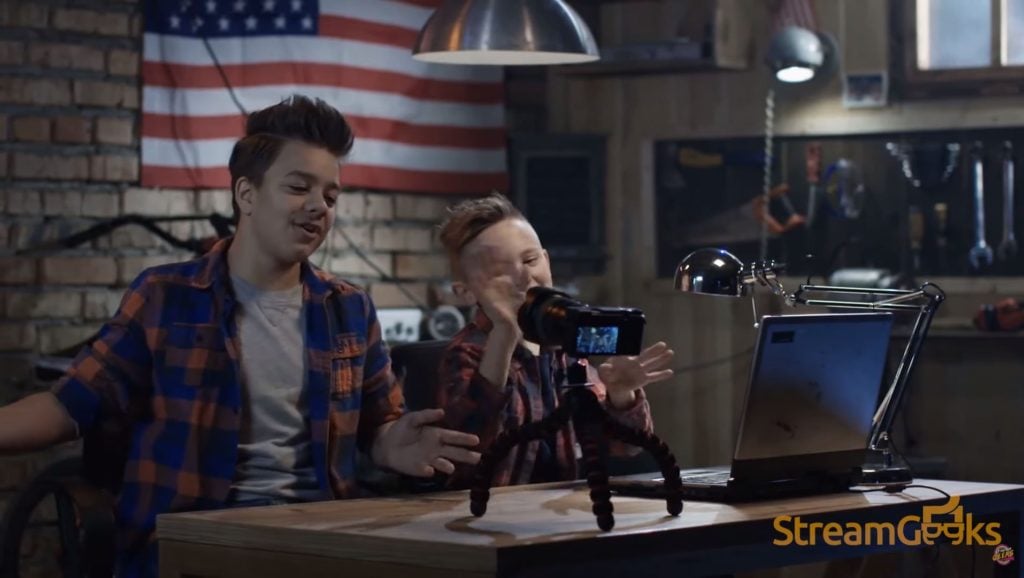
Now it’s time to review how to properly produce a show from the perspective of the technical director. A typical morning announcements show is essentially an orchestrated process of capturing the show’s content with your audiovisual equipment. In order to do this, the technical director has to make decisions about how and when to transition between the available video and audio sources. The goal of a good technical director is to produce a cohesive storyline. As you transition between one scene to the next, it’s important to think about the viewer’s experience as they follow along with your production. Choosing the appropriate transition moments and using the correct transition type, will be essential in capturing your audience’s attention and making the technology flow seamlessly.
Producers can use transition effects to complement their production capabilities. A good transition transparently leads the audience through one scene to the next. The best transition is one that keeps the audience captivated by the content. In a perfect world, the transition happens as if the viewer naturally selected it. In order to do this, your production should flow in a way that feels natural to viewers. Be careful not to use fancy transitions that could take away from the main message of your content. Let’s review the four most popular transitions used in video production. In order of popularity, these would be the cut, the fade, the fade to black and the stinger transition effects.
| Type | Most Commonly Used |
| Cut | 90% of the time |
| Fade | <5% |
| Other | <5% |
You will notice that there are quite a few options in your video production software when it comes to video transition effects. The most commonly used video transition is a cut. The cut simply switches two video sources in a direct cut transition without any noticeable special effects. The cut should be used for transitioning between most of your prepared content. The cut is perfect for transitioning between two live camera angles in the same scene. When you are cutting between multiple camera angles that you have in one scene, it is important to think about the camera angles. Jumping to too many different camera angles, too quickly could be disorienting for your viewers. A good technical director will visualize the camera angles that they have available and move through them in a natural order. You should try to arrange your cameras angles so that you can reveal additional details as they become more important to the story. If you have a pan, tilt and zoom camera that can capture multiple angles during a single production, consider switching back and forth between close up angles and your available wide-angle shots. Generally, you don’t want to cut to a camera angle that is more than 45 degrees away from your current camera angle. In this way, you can switch between multiple cameras in an arch to finally reach a camera that may show a side or behind the scenes camera angle.
Interview diagram #1

To study these production techniques let’s use the example of a two-person interview. When you are producing an interview like this, it’s a good idea to start with a wide angle shot that displays both of your subjects in the same shot. This is your central shot that establishes placement for the viewers in the scene that they are watching. The cut transition can then be used to enhance the viewer’s perspective of each person as they take turns talking. A transition like a fade or a stinger would look unnatural for this type of production. The cut makes the camera switching feel natural and unnoticeable because it happens in the blink of an eye. Each transition should be timed to flow with the conversation your subjects are having.
Interview diagram #2

As you can see in the production workflow of the interview diagram #1, the producer has selected to move between the camera cuts that are sequential around the arc of camera options moving counter clockwise. Interview diagram #2 shows a sequence of transitions that do not follow sequential movements around the camera inputs that are available and beyond the 45-degree rule from the last camera angle. Using these types of “jumpy cuts” could be disorienting for viewers. Remember that all rules are meant to be broken, and every camera setup is different. Use your instincts and create a production that makes sense for the story you want to tell. Just remember that the transition decision you make for your school announcements show will be more reserved than other video projects you may work on at home.

The crossfade transition is perhaps the second most popular transition in live video production. You will notice that they are used much less frequently than the cut, but they are often given a prime real estate in many production systems. Crossfade transitions can produce beautiful artistic visual effects. The crossfade should be used in this way to enhance your production. Crossfades are used frequently during musical performances such as the national anthem performed just before a sports event. You will notice the crossfade is used when the cameras switch between a close up of a singer and a wide panning shot of a crowd. You will notice great crossfade transitions that feature the American flag slowly fading into a crowd of singing sports fans.

If you have an artistic shot prepared for your next video production project, the crossfade may be the most appropriate transition to use. If you have a pan, tilt and zoom camera, try transitioning with the crossfade when the camera is in between a slow pan. Many professional broadcast studios use a physical T-bar to create custom cross-fade transitions between multiple video inputs. Use this transition sparingly and note that crossfades may look pixelated in low bitrate bandwidth streams.
The fade to black sometimes shortened to just “FTB”, is perhaps the next most commonly used video transition. You can fade to black and fade from black to notify the beginning or the end of your production. This type of video transition clearly demonstrates the nonverbal communication power you have as a producer. Try using the fade to black transition to close a unique scene or segment of your morning announcements show. If you can time your fade to black with the ending points of an audio track, you will really be doing great. Hopefully, your audio director will work in sync and fade the audio track for you as the video fades to black.
Finally, the stinger transition is an animated transition that everybody has grown to love. The effect combines a transparent video animation that evolves into a full-screen overlay which is timed with a cut transition. When your stinger video animation starts playing on top of your current video, you can program your production software to cut to your preview input exactly when the video completely covers up the current scene. The stinger effect has been made popular by sports broadcasters who use the effect to notify the audience of a particular scene change. In this way, sports broadcasters have trained their audience to expect a stinger transition when an instant replay or prepared video screen is coming up. Really fancy stinger video animations often include perfectly timed audio which is included with lots of “whooshes” and “pops” perfectly timed to give the animation a realistic look. Remember that most viewers have never heard of a “stinger effect” yet the nonverbal connection that is made to the audience takes effect immediately.
Let’s create our own custom stinger transition inside Adobe After Effects and import our work into both OBS and vMix for testing. In order to build a stinger, we want to create a 1920×1080 scene with an object that slides into the scene quickly, makes a brief appearance and then covers the entire area on exit. At the moment our stinger covers the entire screen, we will tell our video production software to initiate a cut. In this way, the stinger can create an animation that displays itself over any input we want to use it with.

Start by opening up Adobe After Effects and creating a new 1920×1080 composition that is two seconds long. Next, you can drag and drop in a .png file of your logo into After Effects that you will use as your main file to animate. Drag and drop this logo into your composition and click the drop-down arrow next to the title line to reveal the “transform” area. The transform area of your .png logo file is where we will tell After Effect how we want our logo to move throughout the two seconds of your composition. Choose the scale transformation option. To start a transform session, click the clock logo which will turn on animation over time and create a keyframe for you to use at the very first frame of your composition. Let’s scale your image to fill up the whole screen. Then you can drag your timeline slider over a few tenths of a second. You can scale the logo down to a smaller size and After Effects will animate the transformation in between each of these two keyframes. Now, let’s add a rotation into the mix, creating a transformation keyframe at the zero mark and a keyframe exactly where our logo stops scaling. Finally, we can end our composition by scaling our logo past full screen atthe end of our 2-second composition. This is the point where our logo will cover the full screen and perform the cut to our next video input in the preview. Now that our animation is complete, we can export this video as an AVI file. Make sure to click the RGB + Alpha channel option when you are outputting a transparent video file from Adobe After Effects.

To set up our stinger video transition inside OBS first make sure you have the most up to date version of OBS (22 or later is required). Then click on the plus button inside the Scene Transitions area and select “Stinger”. This will open up a properties box where we can choose our .avi file and choose a transition point for our stinger. Since your stinger is 2 seconds long, let’s choose 1900 milliseconds for your transition point which is just one-tenth of a second before our animation ends. The transition point is the time that OBS uses to cut between the preview and output scenes regardless of how much time is left on your animation. In this way, you want the animation to play into the next scene. You can now click the plus button in between our preview and output screens to add our stinger to our click transition button list used in studio mode.
TIP: You can set up a hotkey in the settings area of OBS for transitions. Consider using the spacebar as a hotkey for quickly cutting between two scenes. Once this is done, you can set up another hotkey just for the stinger effect.

Now let’s create a stinger effect inside of vMix. If you don’t have vMix, but you would like to give it a try, download the free 60-day trial or simply skip over this short tutorial section. Once you have vMix installed, you can open up an included program called “vMix Video Tools” in order to create an image sequence from our transparent video file. Instead of using a transparent video file to produce a stinger effect like OBS, vMix provides a tool to create image sequences from transparent video files. This method is a more efficient way to process and store stinger transitions. Creating an image sequence out of our 2-second .avi file produced a folder with 199 .png files that make up the image sequence. The 2-second video file was 500 megabytes and the image sequence folder is only 44 megabytes. That’s over 10 times smaller than the original. I’ll take it!
Inside vMix, we can start by clicking the “add input” button and selecting the “image sequence/stinger” option. Once our image sequence has been loaded into vMix, we can click into the overlay section of vMix to set up the stinger details. The most important detail inside the stinger options is the stinger cut point. You can test out your stinger a couple of times to tweak its performance. In the overlay settings, you will find multiple tools allowing you to set up the stinger duration, cut points and even its alpha channel properties.
So that’s it. We have built out and tested our stinger transition with multiple video production software packages. As you are familiarizing yourself with your numerous video production control options, consider studying live broadcasts that you can find online and on television. You may find yourself looking at television and broadcast productions differently now that you have the vocabulary to organize the various elements of the production in your mind.

Continue reading


