Using Auto-Tracking Cameras with vMix
Written by Paul Richards on September 26, 2023
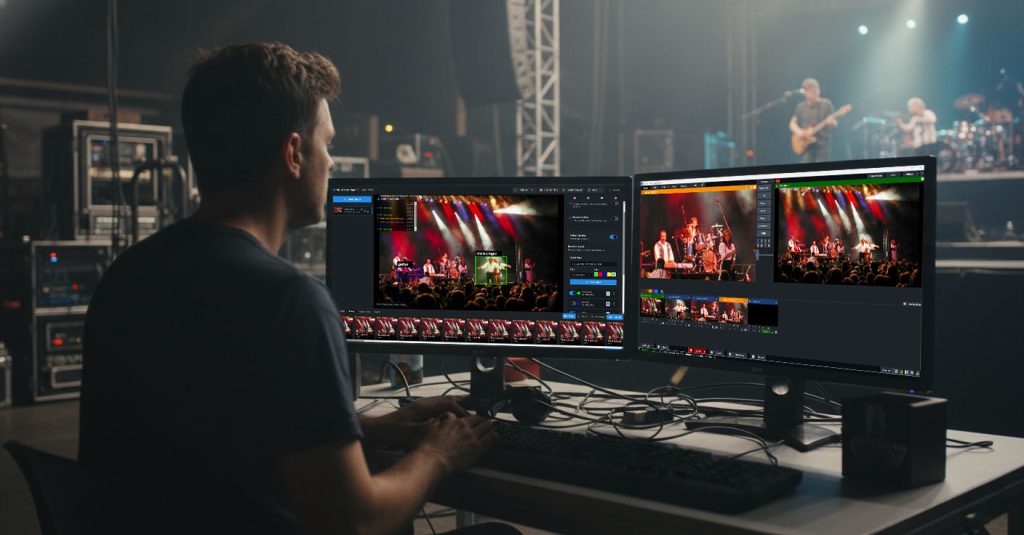
Hey, StreamGeeks! Today, we’re delving into the world of vMix, a renowned live production software that has become a cornerstone for creating, recording, and streaming high-quality content. We are coupling it with the versatile PTZOptics cameras to explore the automation capabilities through vMix scripting.
Remember, to access these advanced features like scripting and PTZ controls, you’ll need to have vMix 4K, Pro, or vMix Max editions, as these functionalities are not available in the Basic HD and HD licenses.
vMix Scripting for PTZOptics Auto Tracking Controls
Section 1: Setting the Stage for Scripting
- Launching vMix: Kickstart your journey by opening vMix and stepping into the main interface.
- Navigating to Settings: Head to the “Settings” menu to explore various customizable parameters.
- Scripting Menu Exploration: Here’s where the magic happens! Dive into the “Scripting” option and get ready to create some automation scripts.
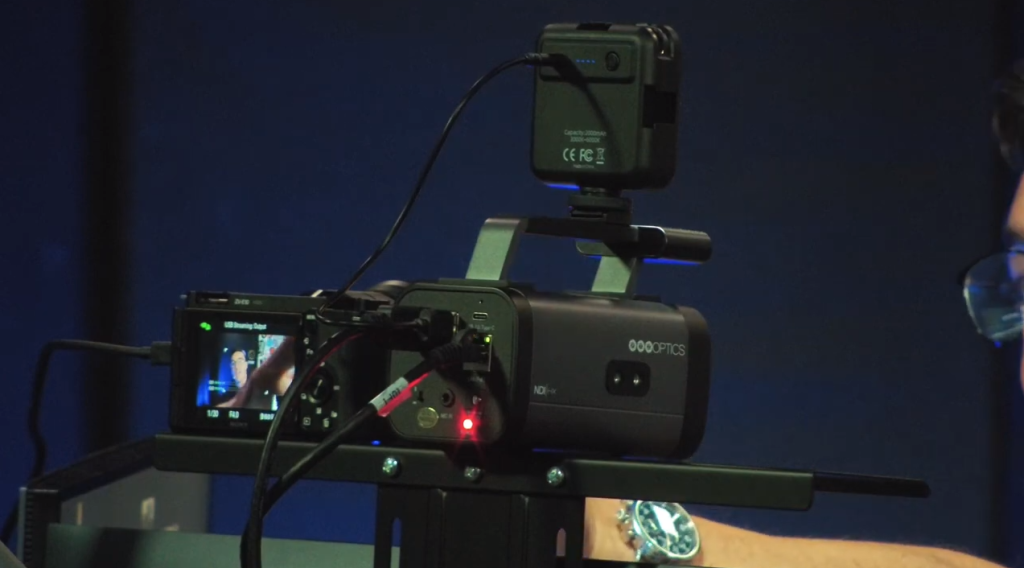
Kick things off by firing up your vMix software and ensuring your PTZOptics camera is networked on the same wavelength as your vMix system. Knowing the IP address of your PTZOptics camera is crucial; if you’re in the dark about this, follow our guide here.
Once in vMix, direct your cursor to the “Settings” menu, your gateway to molding your vMix environment, tucked in the upper right corner of your main interface. Here, hit the “Scripting” tab to open the doors to your scripting journey.
Welcome to the scripting world within vMix! Head to the “Scripting” option on the left pane, and you’ll be greeted with “Add,” “Edit,” and “Remove” buttons, not forgetting the “Stop All” button. This is your creative space to whip up and manage scripts that automate a bunch of cool tasks in vMix. Right here is where you’ll brew the scripts to maneuver the auto-tracking feature of your PTZOptics camera. A bit intimidated by scripting? No worries! We’re here to guide you step by step, making sure you get the hang of it, no matter your experience level.
Add AutoTracking to vMix
Section 2: Scripting Auto-Tracking ON
- Crafting a New Script: Click “Add” and start crafting the “ATrackON” script.
- Coding: Enter the specific code to turn ON auto-tracking, and don’t forget to replace the placeholder IP address with your camera’s actual one.
- Saving Your Progress: After inputting the code, hit “SAVE” and “Close” to store your script.
2.1 Crafting Your New Script:
Once you’re immersed in the scripting menu, kick things off by hitting the “Add” button. Voila! A new window pops up; this is your canvas to create the script that wakes up the auto-tracking feature on your PTZOptics camera.
2.2 Naming Your Masterpiece:
In this fresh window, it’s time to christen your script. For this guide, let’s call it “ATrackON.” This name is your key to executing the right script when the time comes.
2.3 Diving into the Code:
Spot the main text entry field in the same window. It’s time to enter the code found in our guide here.
Section 3: Scripting Auto-Tracking OFF
- Creating the Counterpart Script: Head back and click “Add” again to create the “ATrackOFF” script.
- Inserting the OFF Code: Input the respective code for turning OFF auto-tracking, replacing the IP address with your camera’s.
- Finalizing: Save and close, ensuring that both scripts are ready for action!
3.1 Crafting the Counterpart Script:
Alright, StreamGeeks! Let’s head back to our scripting playground in vMix by hitting the “Add” button once again. We’re crafting another script, the sidekick to our first one, to switch off the auto-tracking mojo of your PTZOptics camera whenever you fancy.
3.2 Giving a Name to our OFF Script:
In the script-crafting window, it’s naming time again! To keep things clear and snappy, we’re christening this one “ATrackOFF.”
3.3 Keying in the OFF Code:
In the same trusty text entry field, it’s time to type in the auto-tracking stop code found in our guide.
Auto Tracking ON and Off for vMix
Section 4: Assigning and Testing Shortcuts
- Allocating Shortcuts: Assign keys “G” and “H” for turning auto-tracking ON and OFF, respectively.
- Testing the Waters: Press the assigned keys and observe if the auto-tracking starts and stops accordingly.
3.4 A Nudge on IP Address Accuracy:
We can’t emphasize enough—getting the IP address spot on is paramount! It’s the golden key to ensuring your scripts and your PTZOptics camera are in perfect sync, letting you rule over the auto-tracking feature seamlessly.
3.5 Locking in the Script:
Once you’ve double-checked the code and the IP, hit “SAVE” to lock the OFF script into vMix. After securing your script, hit “Close” to bounce back to the main scripting hub.
Quick Insight:
Having the power of both ON and OFF scripts in vMix puts you in the director’s chair, allowing swift shifts between different filming vibes. Precision in scripting is your best bud for a slick, hiccup-free streaming session!
Section 4: Putting Our Scripts to the Test with Shortcuts
4.1 Hooking Up Shortcuts for the ON Script:
Alright, StreamGeeks, with our scripts locked and loaded, it’s time to link them up with some handy shortcuts! Head over to “Shortcuts” in the main vMix interface and hit the “Add” button to pick a shortcut key. For the ON script, let’s say we go with key “G.”
- Key/Control: Pick your preferred key for triggering tracking ON, like “G.”
- Function: Scroll your way to Scripting → then choose ScriptStart.
- Value: Link it up with the name of the ON script, “ATrackON.”
- Title: Keep it simple and consistent, name it “ATrackON.”
- Lock in your choices by clicking “OK.”
4.2 Linking Up Shortcuts for the OFF Script:
Run through the same steps for your OFF script and pick another key to avoid any mix-ups. How about using key “H” for turning it OFF?
- Key/Control: Pick another key, like “H.”
- Function: Go back to Scripting → and choose ScriptStart again.
- Value: This time, connect it to the OFF script, “ATrackOFF.”
- Title: Stick to the plan and name it “ATrackOFF.”
- Seal the deal by hitting “OK.”
4.3 Let’s Test Them Out:
With the shortcuts all set, it’s test time! Hit the keys you’ve assigned and watch the magic happen. “G” gets the tracking going, and “H” halts it. Make sure each key is doing its job right, flipping the auto-tracking ON and OFF smoothly.
Setting up shortcuts is your ticket to a smooth show, letting you flip between auto-tracking modes on the fly, adding that layer of flexibility when you’re live. Once you nail the testing, you’re all set to dive into your creative zone, knowing your controls are solid.
Quick Fixes:
- Not working as planned? Double-check your keys, script names, and those IPs in the scripts.
- Did you get the right vMix edition? You need one that’s cool with scripting and PTZ controls.
- Still stuck? Dive into the vMix and PTZOptics forums and resources for some extra help and insights.
Going the Extra Mile with vMix Triggers!
Want to level up your auto-tracking automation? Say hello to vMix Triggers! Triggers are your backstage crew in vMix, pulling the ropes and turning the knobs when a specific cue hits, like switching to a certain input. It’s like having a little helper making your production flow even smoother!
Imagine setting a trigger to kickstart a script when you go live with a specific input or tap into a certain overlay. This means you can have your scripts, the ones controlling your PTZOptics camera’s auto-tracking, running like clockwork, syncing with the rhythm of your show!
Turn on a Script in vMix via Triggers
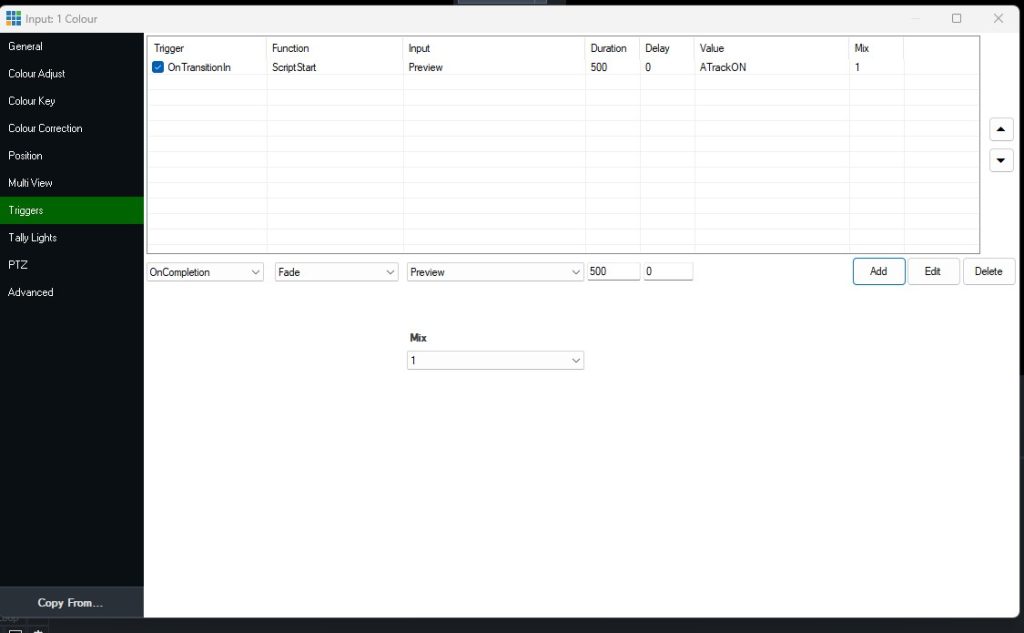
Setting the Triggers:
- Dive into Input Settings: Pick the input you want to buddy up with your trigger and hit its “Input Settings”.
- Find the Triggers Tab: Within “Input Settings”, swing by the “Triggers” tab.
- Create a Trigger: Hit the “Add” button to craft a new trigger.
- Pick Your Event: From the dropdown, choose the event that will set the trigger in motion.
- Link Up a Function: Here, for running scripts, pick “ScriptStart” and select your script.
- Set the Value: For instance, plug in value “ATrackON”.
Don’t forget to test run your triggers to make sure they’re hitting the right notes in your live shows!
Wrapping Up:
There we have it, StreamGeeks! We’ve navigated through the intricate dance of vMix scripting and PTZOptics cameras, unlocking smooth control over our cameras’ auto-tracking features. We’ve meticulously crafted scripts, set up quick-access shortcuts, and built a flexible, reactive video production stage.
Remember, the real magic happens with vMix 4K, Pro, or Max editions, unlocking the doors to scripting and PTZ controls, a treasure not found in the Basic HD and HD licenses. It’s this advanced toolkit that allows us to weave the innovative features of PTZOptics cameras into the versatile realm of vMix, setting the stage for truly immersive content creation!
Key Nuggets:
- Mastering Scripts: Knowing your way around vMix scripting means automating like a pro, syncing seamlessly with PTZOptics cameras.
- Detail is King: Precision in details, like IP addresses and script names, is your secret sauce for script perfection.
- Quick Controls: Having shortcuts at your fingertips lets you switch gears swiftly during live shows.
- Unlocking Features: Rolling with vMix 4K, Pro, or Max is your ticket to the scripting and PTZ control kingdom, blending perfectly with PTZOptics cameras.
Parting Words:
As we wrap this up, let this be your launchpad into the boundless world of vMix scripting and PTZOptics camera features. The adventure is just beginning—dive deeper, play around with scripts, and discover camera commands to mold your production world to your creative whims. And, it goes without saying, double-check every detail and test every move to guarantee a flawless and vibrant video production journey!
Grab Your Guide!
Fancy a PDF version of this guide? Download it here and immerse yourself in the world of vMix and PTZOptics!