Unofficial Guide to Wirecast, Chapter 4: “Connecting Cameras and Capturing Sources”
Written by Paul Richards on March 22, 2021
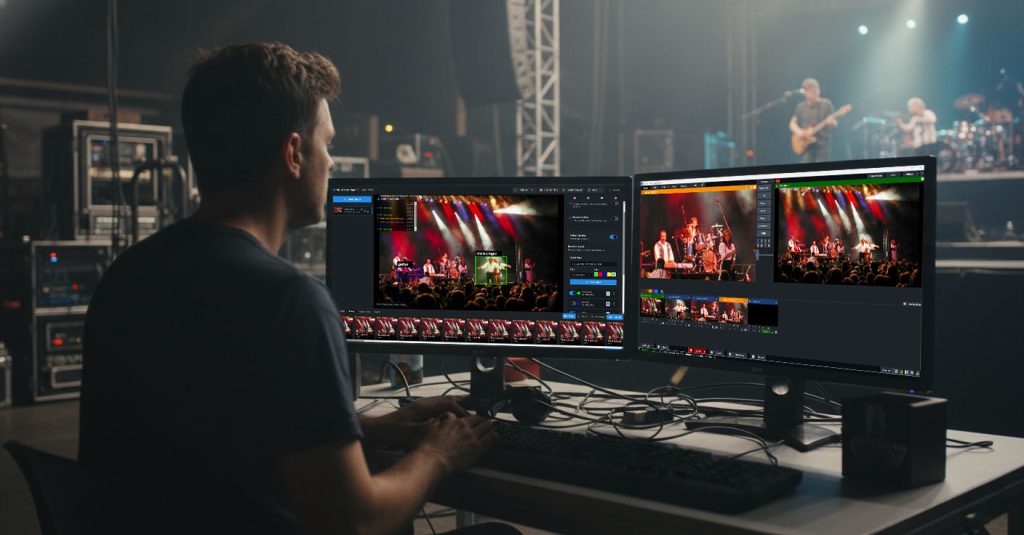
Using Wirecast for live video production often requires the connection of a couple cameras. You can connect cameras to your computer running Wirecast in a variety of ways that you will learn about in this chapter. These options include internal capture cards, external capture devices, USB, IP streams and NDI.

USB Webcams
Setting up a compatible USB webcam is easy. Simply plug your webcam into your computer. Next open Wirecast, add a new shot, select the Video Capture category, and select your device from the menu. Once it is added to the Main Shot Window, you can click on it and make any necessary adjustments on the System Device Properties tab in the Shot Manager Box.
Capture Cards

To connect a camera with an HDMI or SDI output, you will need an internal PCIe capture card or an external USB capture device. Some capture card models even have options to connect to older standards like composite (RCA) or component (YPbPr) video. Capture card devices can be installed internally in PCs computers using a PCIe card slot. If you only need to capture one or two cameras you can use available USB ports to connect USB capture cards. These USB capture cards convert an HDMI or SDI video signal into a usable USB connection with Wirecast. You can also use a Thunderbolt connection to connect additional cameras to your computer.
One of the most significant constraints to capturing cameras with a computer is the available card slots or ports on your computer. You can add additional USB ports to your computer through a USB hub but it is not recommended for use with a camera. This is because USB hubs create a bandwidth bottleneck in your capture system. When using USB connections to capture cameras, it’s never a good idea to use a USB Hub. If you are running out of USB ports on your computer, use a Hub for low-bandwidth devices like your keyboard and mouse. Use your dedicated USB 3.0 or USB C connections for cameras to ensure proper bandwidth channels.

Pro Tip: If you are having trouble with capturing a camera try moving around the USB ports that you are using. Sometimes two or more USB ports will share the same internal chipsets. For example, if you have a laptop with two USB ports on either side, each side might share a single USB chipset. Therefore it would be better to connect one camera on each side to optimize your available USB bandwidth.

The above chart outlines the various bandwidth capabilities of USB 2.0, USB 3.0, PCIe and Thunderbolt connections. USB 2.0 can handle up to 480 Mbps, but in this example we are showing an audio device using only 128 kbps. USB 2.0 connections are ideal for audio mixers, keyboards, mice and controllers. USB 3.0 connections are ten times faster than USB 2.0, and they are ideal for capturing cameras. An uncompressed 1080p camera set to 30 frames per second will use roughly 1.5 Gbps of USB bandwidth. PCIe connections come in a variety of types, but they are generally faster than USB 3.0 connections. A PCIe 3.0 connection can support up to 32 Gbps which is more than enough for four 1080p60fps cameras. Finally, thunderbolt connections are a great option for many users especially if you have a Mac. Thunderbolt connections can support up to 17 Gbps by current specifications which are also great for bringing multiple cameras into your computer. The Thunderbolt connection box listed above is called the PTZOptics Producer+ upgrade box which provides 4 SDI connections to a computer using the Thunderbolt connections.
Pro Tip: Once you have installed your capture device, be sure that you download the device manufacturer’s latest drivers. Setting up a capture card with your camera and computer should be fairly simple. The best place to find support for issues with capture devices is at the website of the manufacturer. There are also often helpful threads available in the Wirecast User Forum as well.

Once your capture device is connected and configured, you can add it as a shot in the Main Shot List by choosing it from the Video Capture category. Once the shot has been captured you may need to make some adjustments on the System Device Properties tab in the Shot Manager Box to align the settings with your camera and capture device.
NDI Sources

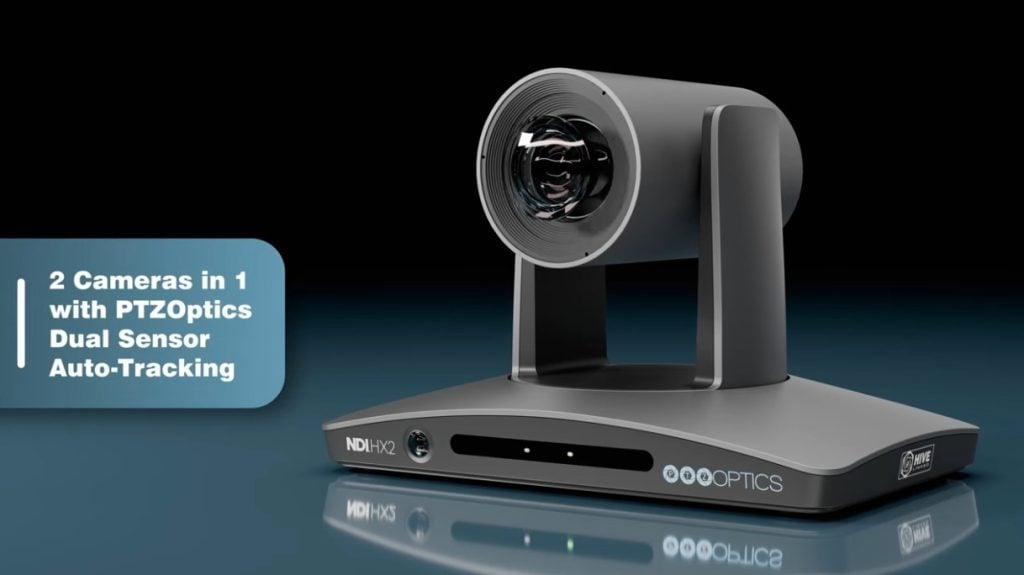
NDI™ stands for Network Device Interface and it’s a simple way to connect IP video sources to Wirecast and other applications over your Local Area Network. A Local Area Network or LAN, is the network that connects your computer to the router which provides your computer internet. This book will include a more detailed description on NDI and networking in an upcoming chapter. For now, simply understand that NDI is a simple way to send and receive video over the network that your computer is connected to. If there is another computer connected to the same network for example, it can receive the video from your Wirecast system and display it up on a television. Another example, might be a computer on your network that can easily send video into your Wirecast system. A popular use case for NDI is a laptop that is set up to send video to a Wirecast system that consists of PowerPoint presentation slides. In order to do this, the laptop can use the free NDI tools available from NewTek to capture and send NDI video from one computer to another.

The example above shows a PTZOptics NDI camera connected to a network switch. This network switch is also connected to a Main Broadcast PC running Wirecast, another computer running NDI Studio Monitor and an IP joystick. The Main Broadcast PC is able to bring the PTZOptics NDI camera connection into Wirecast using the Network Source option.

NDI Sources available on your network will automatically show up under the NDI Source area of Network when you add sources to Wirecast. Additionally, there is a laptop running the free NDI Studio Monitor tool which is being used to view the output of Wirecast. This is an easy way to distribute video over your network using additional computers. NDI Studio Monitor can also be used with a USB connected XBox controller to control PTZOptics cameras. An IP Joystick connected to the network is another great way to control cameras on your network.
Pro Tip: Computers running NDI Studio Monitor can be remotely controlled using a special IP address that shows up when you launch Studio Monitor. Try using this IP address on another computer to remotely change the NDI source the computer is displaying.