Learn how to use vMix Data Sources
Written by Paul Richards on November 11, 2020
Working with vMix Data Sources
vMix offers several options to add dynamic content to your live productions. One of them is vMix Data Sources. With Data Sources, you can import data from sources like spreadsheets, RSS, JSON, a text file, and XML. Even better, this data can be updated in real-time to your live production.
Data Sources
Getting Started
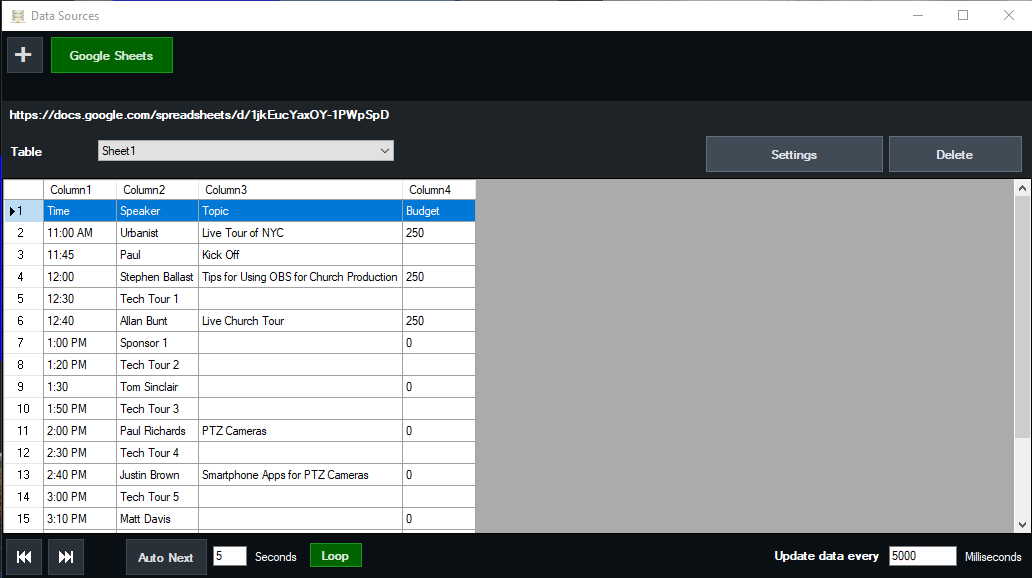
To get started, find the hamburger icon on the lower right of the vMix interface and click on Data Sources Manager. Clicking on the plus icon in the upper left corner of the dialog box will reveal the different data sources you can use in vMix. Clicking on a source type will open up a dialog box with the information for that source. For local files like Excel or CSV spreadsheets or text files, you will have the opportunity to browse for the file on your computer or network. For online sources, the dialog box will ask for a URL and any other information necessary for access.
Once you have selected your data source, entered the necessary information, and click OK, the onscreen table will begin to populate. With data in your table you can assign that data to a title to bring it into our production.
One great example for using Data Sources is Google Sheets. You can have someone manage a Google Sheet table with various fields of data that you need updated. You can then integrate Data Sources with Google Sheets and pull that data directly into your vMix titles.
Adding a Title Input for Your Data
Go to Add Input and select Title from the list on the left. Choose Title from the tabs across the top and select a title that works for your information. Optionally you can create custom titles using the GT Title Editor. Then click OK. This will bring up another dialog box where you can link your data to this title. In a simple title, there will be fields for headline and description. Starting with the headline, click on Data Source at the top of the box. In this dialog box, choose the type of data source you are using. If you have already set it up in the data source manager, the table name will be brought in automatically.
Depending on the type of data you are using, you may want to leave the column and row settings as they are or customize them for your needs. By default, this will initially pull the first column and row. When you are done, click OK. You can choose which row of data you would like your titles to use via Data Sources by clicking on the row. You can also choose to have the data loop through the rows.
Now go and do the same for the description. Leave the column on auto if you want the second column to appear since the first was used for the headline. You can also manually select the column you wish to use. When you are done, click OK.
Formatting Your Title
Your title will now appear in the input section. You can click on it to see it in the preview window with your data. With the title editor still open, you can make format changes to the text in your title. Using the buttons at the top, you can change the font and adjust the size and color.
Additional Settings
There are a couple more settings within the data sources manager that will impact the data’s behavior on your title input. Go back to the data sources manager. At the bottom of that box on the left is a button for Auto Next. Click this and set the time if you would like it to move down the rows at set intervals updating the data. You can also set it to loop if you would like it to start over when it is done.
On the bottom right, you can select the update interval. This is useful if the data from your source is being regularly updated. For instance, if someone is entering new data into the spreadsheet you are accessing, this number will determine how often it checks for changes.
Start Learning vMix
- What is vMix. Learn here
- Getting Started with the vMix interface here
- Learn how to work with vMix inputs here
- Mixing Inputs Together with vMix Multiview here
- Learn about vMix titles here
- Learn how to mix Audio in vMix
- Learn how to use VST3 audio plugins with vMix here
- Learn all about vMix settings here
- Learn about how to use vMix Full Screen and Multiview here
- Learn how to record video with vMix here
- Learn how to live stream with vMix here
- Learn how to use vMix video overlay channels here
- Learn how to make Stinger Transitions in vMix here
- Learn how to use social media comments in your live stream with vMix Social here
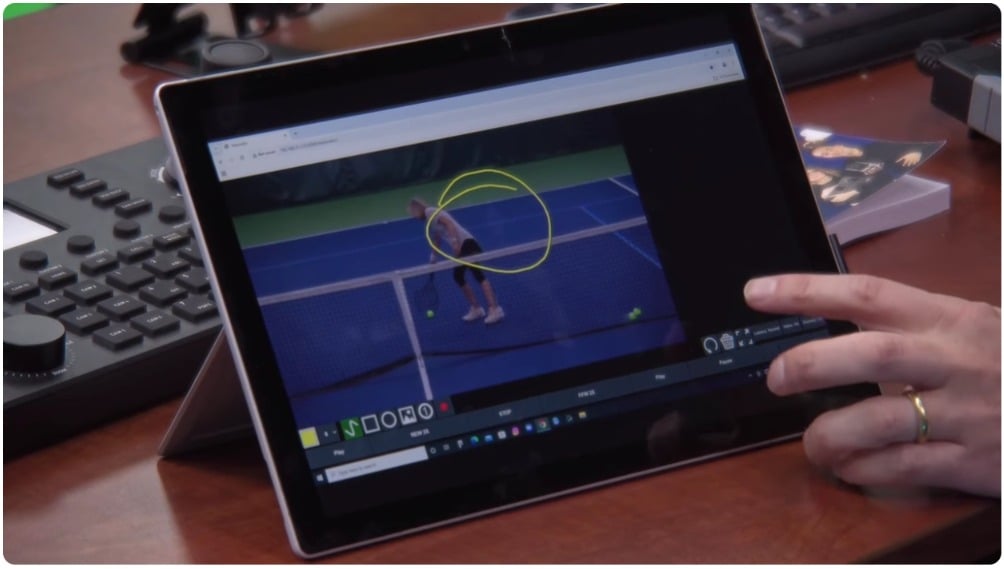
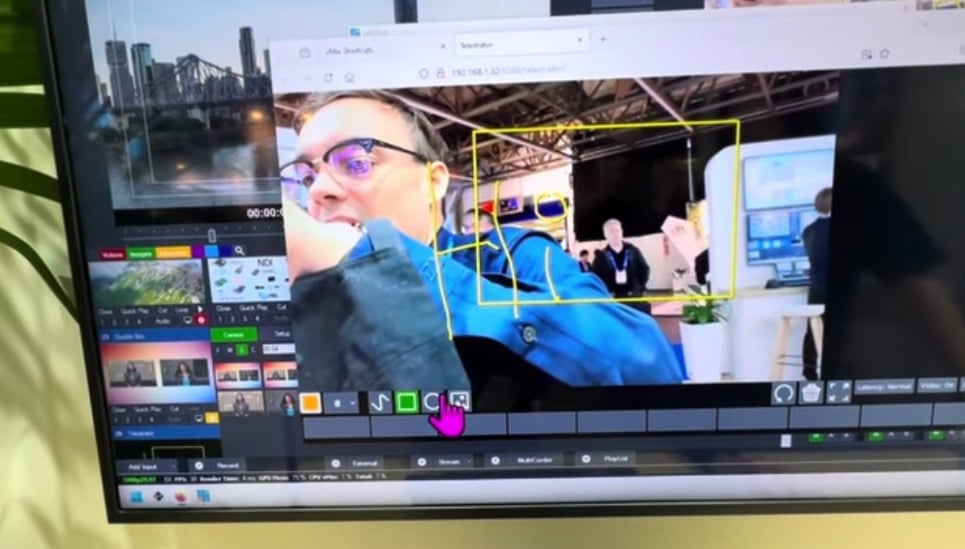
- Learn how to use vMix shortcuts here
- Learn how to use GT Title Editor to make custom vMix titles here
- How to use vMix Call to bring guests in your live stream here
- How to control vMix remotely with the web controller here
- How to use vMix color correction tools here
- How to use virtual sets with vMix here
- How to use NDI with vMix here
- How to control PTZ cameras in vMix here
- Learn how to connect vMix with Zoom using the virtual webcam output here
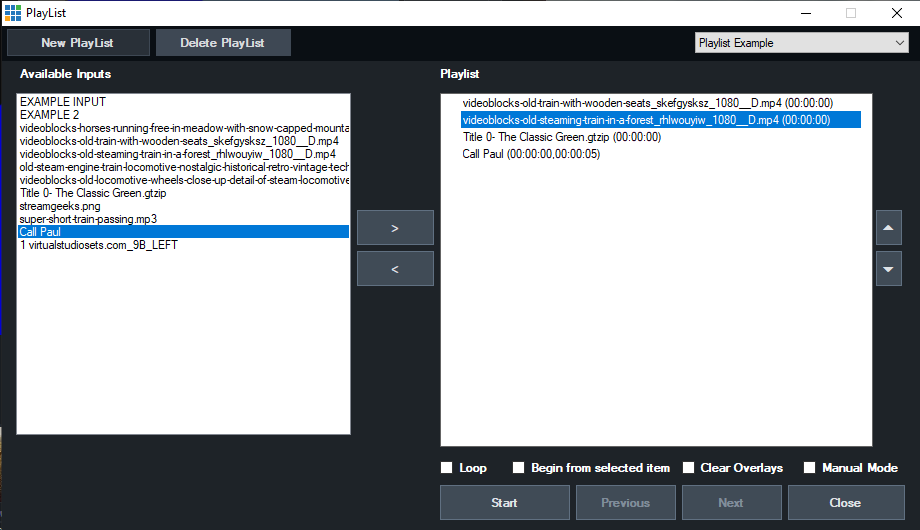
- Learn how to use automated playlists with vMix here
- Learn how to use data sources with vMix here
- Learn how to use vMix triggers here

Continue reading