Virtual Webcams with vMix
Written by Paul Richards on November 11, 2020
External Output (Connecting with Zoom)
Seemingly overnight, Zoom became the go to video conferencing platform for businesses, non-profits, government agencies, and schools. While Zoom is a powerful product in its own right, users quickly began to look for ways to integrate other video tools. One of those tools is vMix. Users want to be able to feed the live video produced in vMix to the Zoom software and integrate the video from Zoom into their live video production in vMix. Fortunately, thanks to the power and flexibility of vMix, this is not a problem.
There are multiple ways to do this, but the simplest method is to simply use vMix to output video directly into Zoom using the virtual vMix webcam and the External button. The explanation below shows you how to use two computers on the same network and sharing the audio and video via NewTek’s NDI protocol. This is a great introduction to the power of NDI and it’s use for video production.
Here is what you need to get started:
- A separate PC laptop or desktop connected to the same network as your vMix computer.
- The vMix Desktop Capture program available at https://www.vmix.com/software/download.aspx#downloaddesktopcapture running on the second computer
- The Virtual Input program in the Newtek NDI Tools Pack: https://ndi.tv/tools/ running on the second computer.
Here is how to set it up:
- In the vMix settings menu, choose the Outputs/NDI tab and turn on the NDI button next to Output 1.
- Click on the gear icon next to that output and select Bus A from the Audio Channels dropdown.
- Go to the audio outputs tab in settings and change the Bus A setting to enabled.
- Go to the audio mixer. Activate the Bus A button for any audio inputs you want to be sent to Zoom. If you are going to share your entire live production, that would likely be all your used audio input sources.
- On the other PC, open the NewTekNDI Virtual Input software you downloaded as part of the NDI tools pack. To get to the options, click on the up arrow inyour Windows task tray’s bottom right and look for the yellow NDI icon. Click on it. Click on the name of the main vMix computer and then select Output 1.
- Open Zoom on your second computer and start your meeting.
- Click on the up arrow next to the microphone in the lower-left corner and select, as your microphone Line (NewTek NDI Audio)
- Click on the up arrow next to the video camera and select Newtek NDI Video as your camera.
- Run the Desktop Capture software on the second computer.
- To bring Zoom into vMix, use the Add Input button and select the NDI/Desktop Capture option. Choose NDI, locate, and click on the computer and display where Zoom is currently showing.
You are ready to go! One quick warning: Be sure not to accidentally enable the Bus A audio button on your desktop capture input. Otherwise, your guest will hear an echo.
There is also another way to connect vMix with Zoom using a single computer. That method is discussed in this blog post. For conveinence, we have also pasted the blog post below.
Everyone has been asking us how to properly connect Zoom and vMix together. There are a lot of reasons why you might want to do this. First of all, you can use Zoom with your vMix productions to bring in remote guests. Yes, vMix has a feature called vMix call, but Zoom is much more popular for video conferencing and easier to use for most people. Also, vMix call is only available in the more expensive versions of vMix. Zoom is an easy way to host larger meetings and open up a host of new possibilities for improving your video production capabilities.
There are many other reasons why your Zoom meetings can be enhanced by vMix. One of the best reasons is to improve your audio quality using vMix’s tools for audio. You can use VST3 plugins to enhance the audio coming from vMix into your Zoom meetings. You can also enhance the audio and video recording quality for your Zoom meetings using Zoom. So let’s learn how to connect Zoom and vMix together.
Note: This tutorial is only for Windows. vMix is not available for Mac or Linux OS.
How to connect Zoom and vMix?
Connect Zoom and vMix
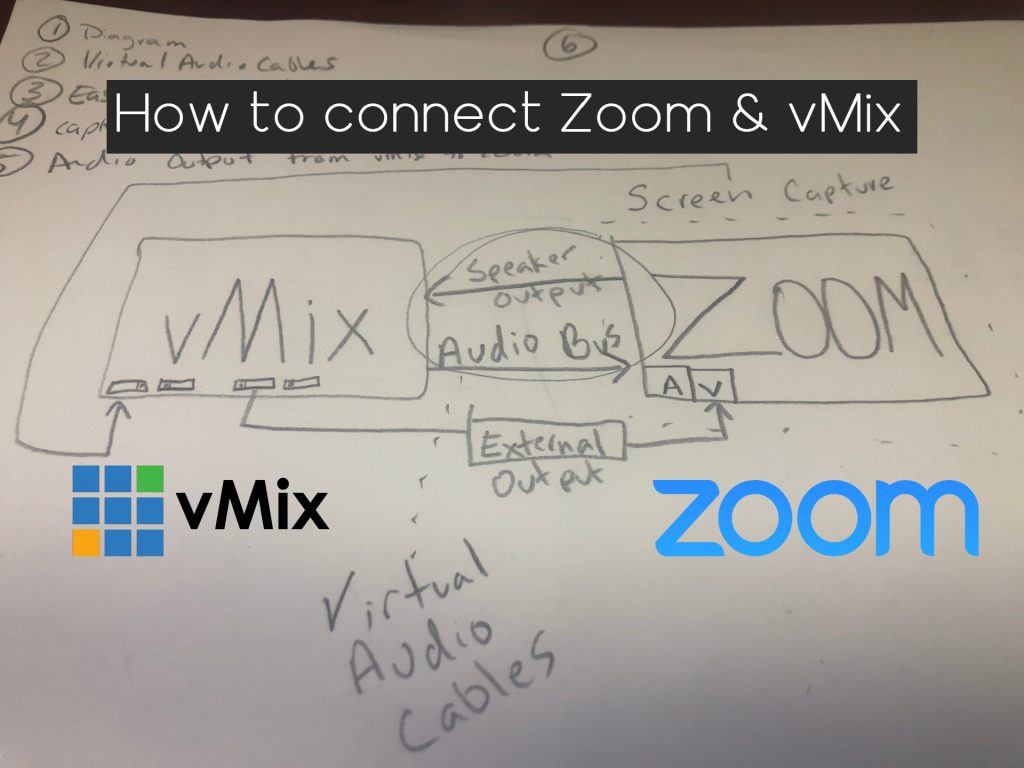
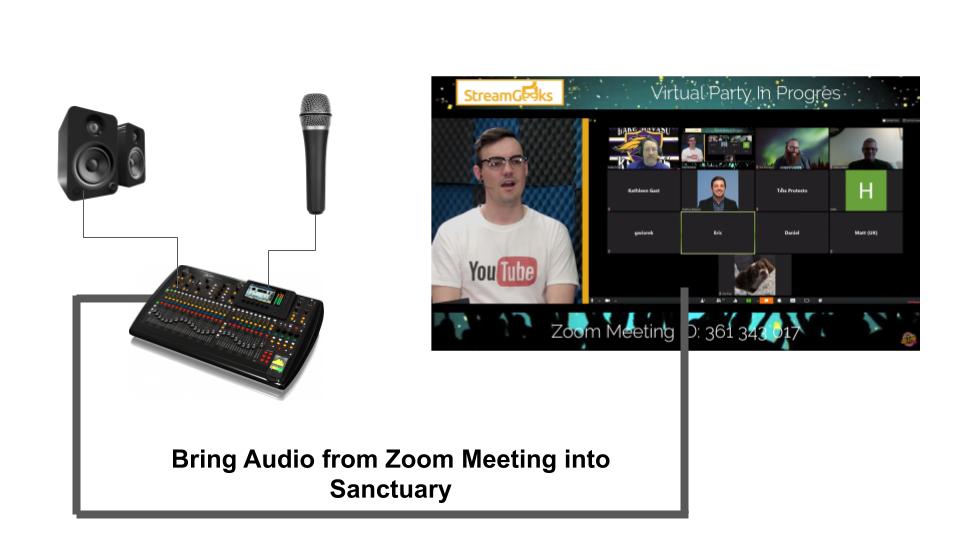
First, check out the diagram we have included above so that you can understand how everything connects. Because both Zoom and vMix run on a Windows computer. You do not need to run any physical cables to connect the two software solutions. This is going to be done 100% virtually. Starting with virtual audio cables. You will also use virtual webcam outputs and desktop capture inputs to connect the video.
Virtual Audio Cables

Audio settings connecting Zoom and vMix
You will need two virtual audio cables to fully connect vMix and Zoom together. One virtual audio cable is used to output a mix of audio from vMix into Zoom and the other is used to bring the audio output from Zoom into vMix. Zoom essentially has two audio options for users to choose from. Zoom has a microphone input and a speaker output that we will use. In the picture above, ou can see that the tutorial uses virtual audio Cable-B for the Test Speaker and virtual audio Cable-A for the microphone. The Microphone input comes from the audio bus inside of vMix which can create a mix of audio to send to vMix. You can send any audio inside of vMix into Zoom. Be careful not to send the audio from Zoom back into Zoom, as this will cause a feedback loop.
Sending vMix Video to Zoom

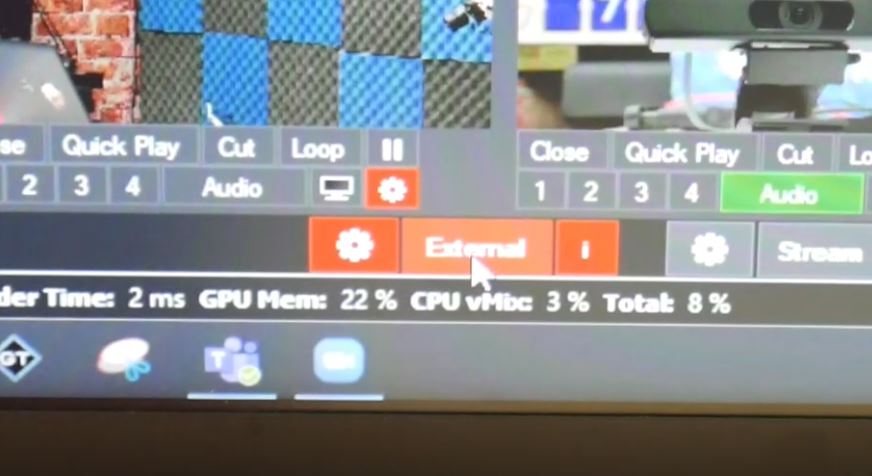
Sending your video from vMix into Zoom is probably the easiest part of this setup. All you need to do is enable the “external” output button and then select “vMix” as your webcam in Zoom. Video is the easy part. Next, you can add an input inside of vMix with a desktop capture. The desktop capture would be the screen with Zoom on it. You can have Zoom in multiple layouts including grid view, speaker view, or have a single person video pinned. Anything on this screen will come into vMix through your desktop capture.
virtual camera output
Additional Notes to Consider
Now that you have your audio and video connections, here are some additional technical notes to consider. First of all, you can always use the microphone indicator in Zoom to check to see if audio levels are coming through vMix into Zoom. You can also use the test speakers button in Zoom to check if audio is coming out of Zoom into vMix. If you have everything set up and working, the last part of this is to consider who you will hear the far-end audio from Zoom. There are basically three options for this. You can listen to a pair of headphones, you can set up an in-ear monitor system or you can connect to an audio system.
-
- Connecting Zoom to an Audio Mixer
-
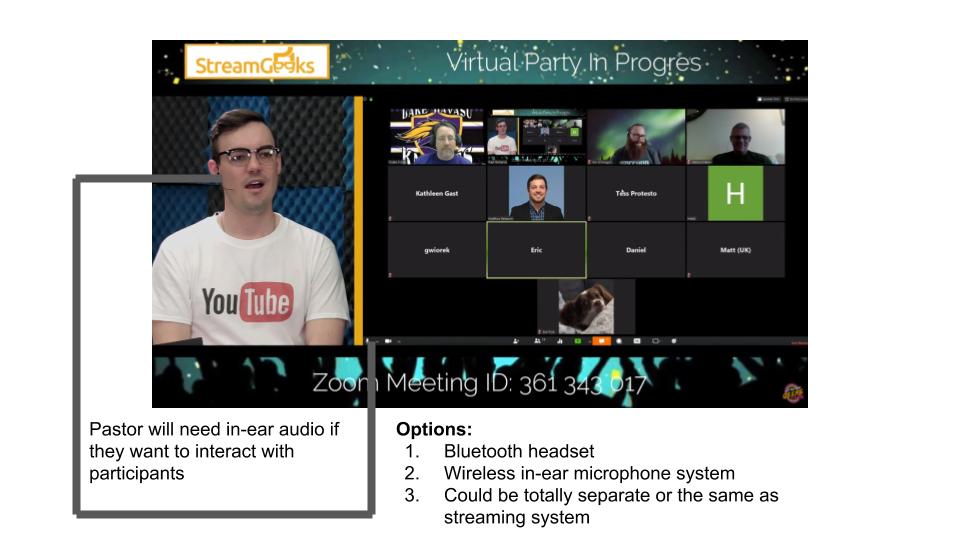
- Connecting Zoom to an in-ear Monitor
Conclusion
Connecting Zoom and vMix together can help you produce an amazing amount of live streaming and video conferencing improvements. From higher quality audio and video, to new applications that feature talks show guests and breakout sessions. You can see on our live show, that we use Zoom and vMix all of the time to produce innovative and interactive productions. You can learn more about using Zoom and vMix in our other articles below.
Start Learning vMix
- What is vMix. Learn here
- Getting Started with the vMix interface here
- Learn how to work with vMix inputs here
- Mixing Inputs Together with vMix Multiview here
- Learn about vMix titles here
- Learn how to mix Audio in vMix
- Learn how to use VST3 audio plugins with vMix here
- Learn all about vMix settings here
- Learn about how to use vMix Full Screen and Multiview here
- Learn how to record video with vMix here
- Learn how to live stream with vMix here
- Learn how to use vMix video overlay channels here
- Learn how to make Stinger Transitions in vMix here
- Learn how to use social media comments in your live stream with vMix Social here
- Learn how to use vMix shortcuts here
- Learn how to use GT Title Editor to make custom vMix titles here
- How to use vMix Call to bring guests in your live stream here
- How to control vMix remotely with the web controller here
- How to use vMix color correction tools here
- How to use virtual sets with vMix here
- How to use NDI with vMix here
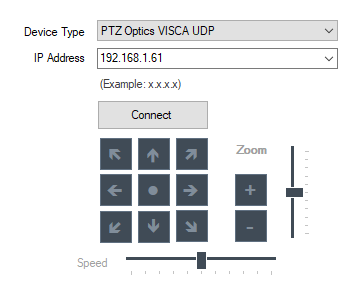
- How to control PTZ cameras in vMix here
- Learn how to connect vMix with Zoom using the virtual webcam output here
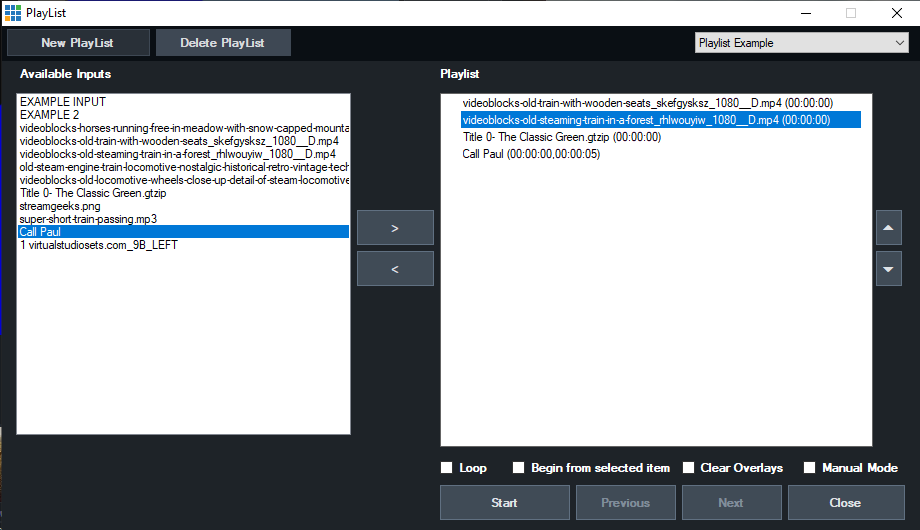
- Learn how to use automated playlists with vMix here
- Learn how to use data sources with vMix here
- Learn how to use vMix triggers here
Other articles about Zoom
- Learn how to connect NDI with Zoom here
- Learn how to use virtual sets in Zoom here
- Learn how to connect Zoom with vMix here
- Learn how to use Countdown timers with Zoom here
- Learn how to connect Zoom and OBS here
- Learn about security measures you can take when using Zoom here
- Learn how to host a virtual party with Zoom here
- Learn how to embed your Zoom meetings into your WordPress website here
- Learn how to set up Zoom Meeting Countdown Timers using OBS here
- Learn how to increase your video quality in Zoom here
- Learn how to increase the quality of your Zoom recordings here
- Learn why you should use OBS to record your Zoom meetings here
- Learn how to add sound effects to your Zoom meetings here
- Learn about NDI integration in Zoom here
- Learn about more about NDI integration in Zoom here

Continue reading