How to use Triggers with vMix
Written by Paul Richards on November 11, 2020
How to use vMix Triggers
vMix Triggers can add powerful automation sequences to your live productions. This becomes especially important for complex productions with a single operator. The producer will not need to remember every single cue and function since many can be automated through triggers.
Triggers can handle anything from adding overlays after a transition to multiple-step processes that will run much of a live show for you. Some examples of common uses include a trigger that starts recording and turns on the microphones at the end of a countdown sequence. Another could be used for switching to the primary camera when a video ends. There is really no limit to what you can automate with triggers.

vmix Triggers
Triggers are very similar to shortcuts. They both start with a function. With a trigger, it is the press of a key or button that begins the function. With a trigger, the function is started automatically when some condition is met. Shortcuts and triggers can be used together with a shortcut starting a sequence that continues automatically through triggers.
Setting Up a Trigger
Setting up a trigger in vMix is straightforward, and it is done through the input settings. Select the input you would like to work within the input section and click on the gear icon in on the lower right. Once the settings menu for that input is open, click on Triggers on the left column. If you have any triggers already set up, they will be listed here.
Under the trigger, list are the fields for setting up a new trigger. The first column is the actual trigger which is the event that starts the process. If you click the dropdown menu, you will see that triggers can include OnCompletion, OnTransitionIn, OnTransitionOut, OnOverlayIn, OnOverlayOut, OnCountDownCompleted, and three audio triggers.
“OnCompletion” is perfect for triggering a function when something, like a video, is finished. The transition triggers are based on fading or cutting to an input. The overlay triggers work when an overlay is activated or turned off. With the countdown trigger, you can attach a function to the completion of one of the built-in countdown timers. The audio triggers are relatively basic and can trigger a function when an input audio source crosses a dB threshold.
The second column lets you set the function that will occur for that input when the trigger occurs. You can choose from hundreds of functions by clicking on the dropdown menu and selecting the category on the left side. In the next column, you can choose the source used for the function. For instance, if the trigger is set to transition from your input source, this is where you would choose what it should transition to. If you are using any sort of transition function, the next column lets you set the duration. The next column allows you to set the delay before the function takes place.
You can set up multiple triggers on each input and easily change the order in which you wish them to happen.
There is one crucial thing to keep in mind if you are using MultiView of layered inputs. Even if triggers have been enabled, they will only work on the primary layer. That means if you create an input with triggers and then include that input in a MultiView input, those triggers will not function. You will need to add triggers to the MultiView input itself.
Start Learning vMix
- What is vMix. Learn here
- Getting Started with the vMix interface here
- Learn how to work with vMix inputs here
- Mixing Inputs Together with vMix Multiview here
- Learn about vMix titles here
- Learn how to mix Audio in vMix
- Learn how to use VST3 audio plugins with vMix here
- Learn all about vMix settings here
- Learn about how to use vMix Full Screen and Multiview here
- Learn how to record video with vMix here
- Learn how to live stream with vMix here
- Learn how to use vMix video overlay channels here
- Learn how to make Stinger Transitions in vMix here
- Learn how to use social media comments in your live stream with vMix Social here
- Learn how to use vMix shortcuts here
- Learn how to use GT Title Editor to make custom vMix titles here
- How to use vMix Call to bring guests in your live stream here
- How to control vMix remotely with the web controller here
- How to use vMix color correction tools here
- How to use virtual sets with vMix here
- How to use NDI with vMix here
- How to control PTZ cameras in vMix here
- Learn how to connect vMix with Zoom using the virtual webcam output here
- Learn how to use automated playlists with vMix here
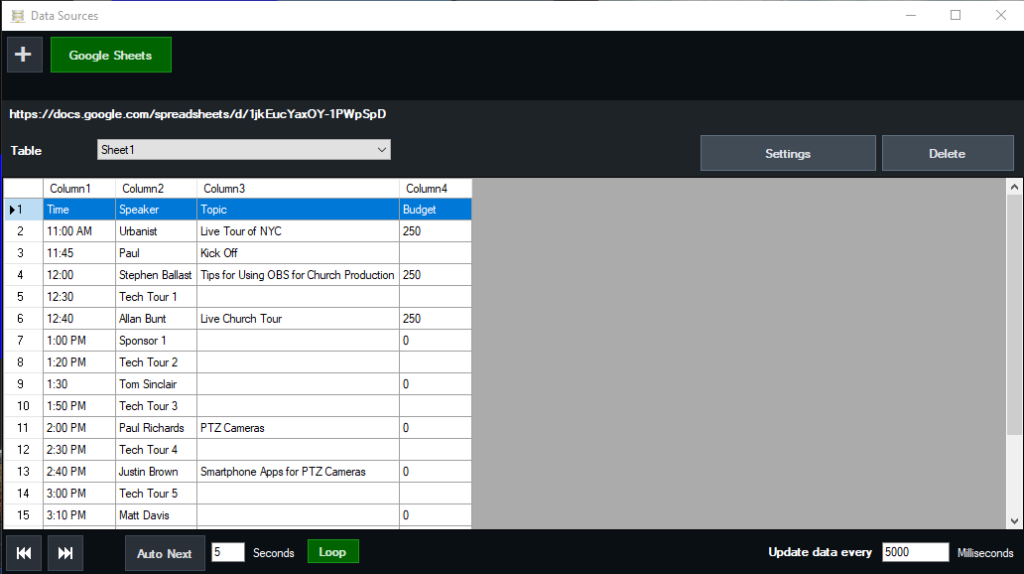
- Learn how to use data sources with vMix here
- Learn how to use vMix triggers here

Continue reading