How to use Video Overlays in vMix
Written by Paul Richards on November 10, 2020

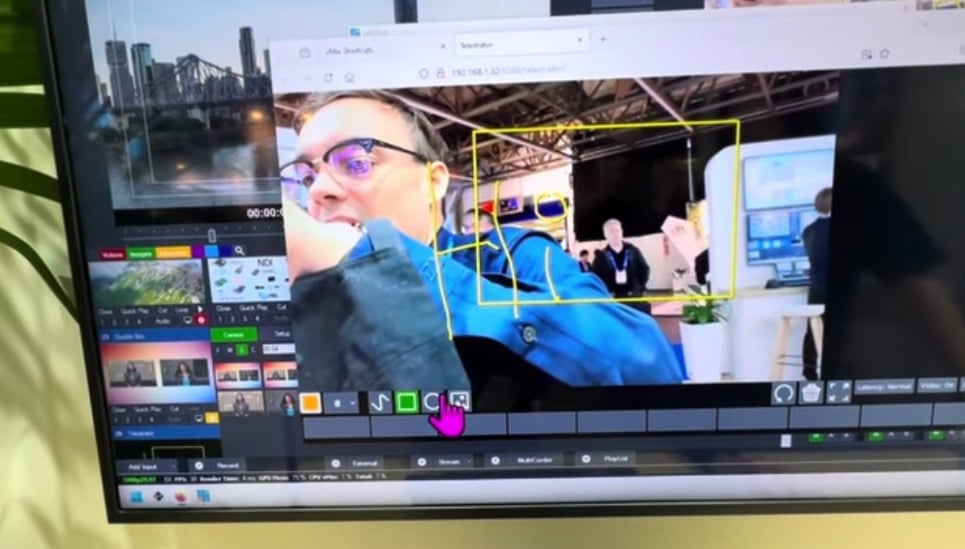
vMix Overlay Channels
Overlays, available in vMix, are a great way to add depth and dimension to your live video productions. With the touch of a button or click of a mouse, you can overlay multiple graphics and other inputs over your main output layer. You can produce the same look as professional broadcast studios with lower thirds, picture in picture videos, and much more.
Getting Started with Overlays
To get started, be sure you have the graphic, video, or camera added as an input in the input area. You can add it to the output as an overlay by clicking on the selected overlay number at the bottom of the input box. Depending on the edition, there will either be one or four options. If you are using the Basic or Basic HD editions, you will have access to one overlay channel, HD and higher offer four. If you are using the free trial, you will have access to all four.
Overlay Settings
Overlay Behavior
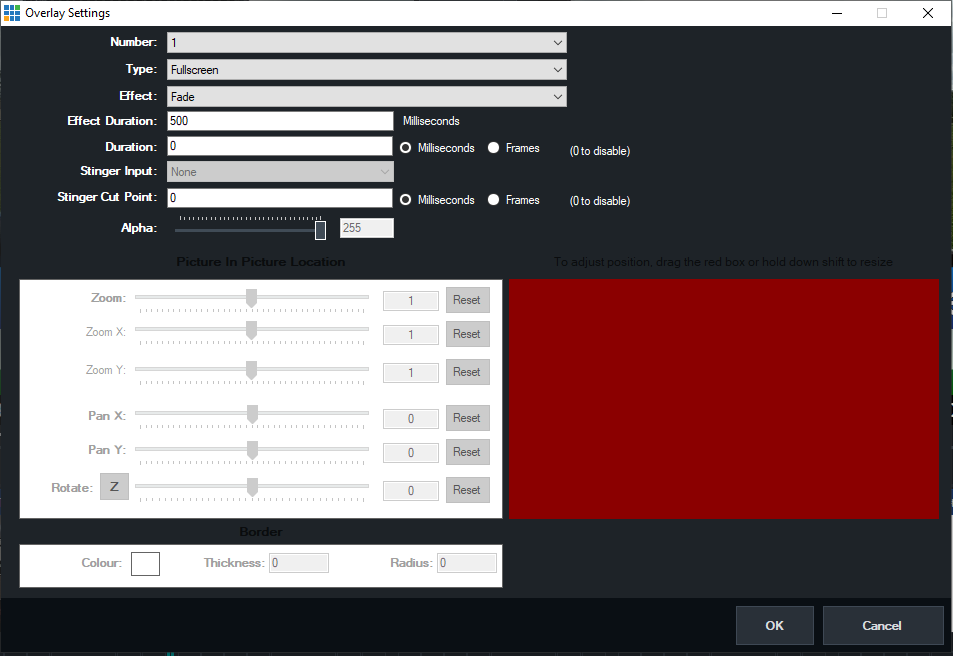
To determine how each overlay channel will behave, click on the Overlay button at the bottom of the screen. This will open up the Overlay Settings. Choose the overlay channel you want to work with from the dropdown menu in the first field. Next, choose the type. For titles and lower thirds, you will usually want to choose full screen. You can also select picture in picture to make the overlay channel resize the selected input and scale it as part of the effect.
Next, from the Effect dropdown, you can choose a basic cut transition or choose from multiple transition effects. Below that, you can select the effect duration, which will determine how long the wipes, fades, or other effects will last. If you are using a basic cut, the software will ignore the duration setting.
Next is the duration of the overlay. This is how long the overlay will stay on the screen after it is activated. If you want to control this manually, just set this to 0. The next two settings are for the more advanced stinger transitions that add animation to the transition. The alpha setting is also available in the event of using transparencies in overlays.
For picture in picture options, the bottom half of the settings box lets you position your overlay element on the screen. You can adjust the size and position using your mouse, dragging to move the position, or clicking and dragging to adjust the size. You can also use the zoom, pan, and rotation sliders on the left side. At the very bottom, you can add a border and adjust its color, thickness, and radius.
Once you are done, hit OK. Now when you hit the number of that overlay on any of your input sources, that source will appear as you selected over whatever is in the main output window. It will match the transition settings, positioning, and duration you have set.
Start Learning vMix
- What is vMix. Learn here
- Getting Started with the vMix interface here
- Learn how to work with vMix inputs here
- Mixing Inputs Together with vMix Multiview here
- Learn about vMix titles here
- Learn how to mix Audio in vMix
- Learn how to use VST3 audio plugins with vMix here
- Learn all about vMix settings here
- Learn about how to use vMix Full Screen and Multiview here
- Learn how to record video with vMix here
- Learn how to live stream with vMix here
- Learn how to use vMix video overlay channels here
- Learn how to make Stinger Transitions in vMix here
- Learn how to use social media comments in your live stream with vMix Social here
- Learn how to use vMix shortcuts here
- Learn how to use GT Title Editor to make custom vMix titles here
- How to use vMix Call to bring guests in your live stream here
- How to control vMix remotely with the web controller here
- How to use vMix color correction tools here
- How to use virtual sets with vMix here
- How to use NDI with vMix here
- How to control PTZ cameras in vMix here
- Learn how to connect vMix with Zoom using the virtual webcam output here
- Learn how to use automated playlists with vMix here
- Learn how to use data sources with vMix here
- Learn how to use vMix triggers here

Continue reading