Mixing Inputs Together with vMix Multiview
Written by Paul Richards on October 26, 2020
Mixing Inputs Together with MultiView
vMix’s Input MultiView makes it easy to design custom layouts that combine multiple input sources into one scene. For instance, you could have a camera input as the main image and then add a backdrop, an inset picture-in-picture video, a lower thirds title, etc. The best part is that, when you create this MultiView input, all these sources are still usable as independent sources.
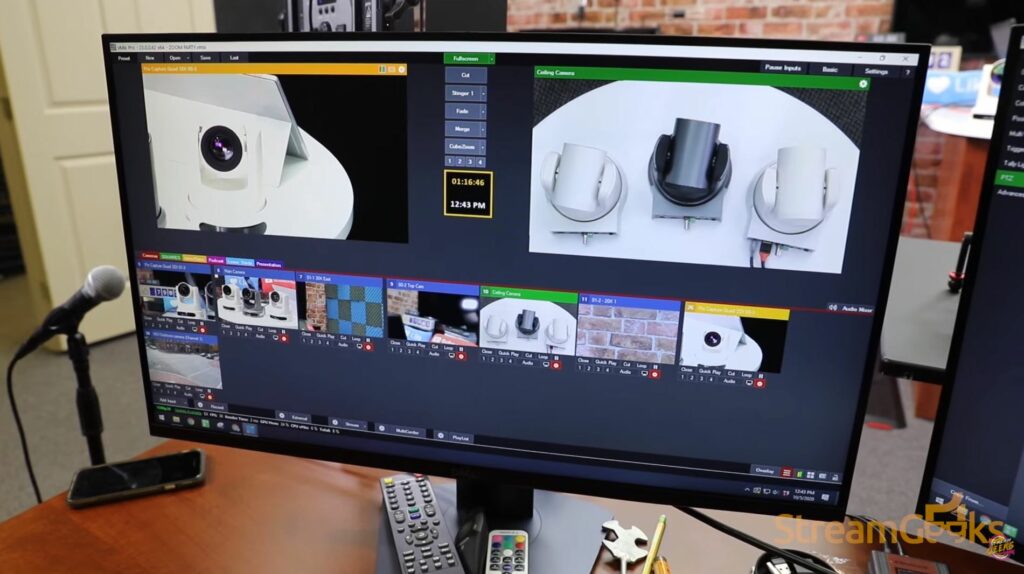
Input MultiView is not the same as overlay channels. You can setup a Multiview input combining several inputs and still have access to all the overlay channels. Also, keep in mind that Input Multiview is not the same as the Fullscreen MultiView output, which allows you to see and organize views of your entire production. For example, Input MultiView would be used to create an input with multiple layers and a Multiview output would be used to monitor your production on a second monitor.

Input Multi View
Creating a MultiView Input
Up to ten MultiView layers can be set up on any input. A great way to get started is to create a brand-new blank input for testing. Just click Add Input and select the Colour option. Next, click the gear icon in the newly added input. Under the General options, give it a name so you can easily find it later.
Setting it Up
Now select MultiView from the options on the left side to begin setting it up. On the right, you will see various templates for your MultiView like side by side, picture in picture, and a three by three grid. These templates are just a starting point to save you time and effort. You can change the layout as you go, and even save layouts for the future using the Add button.
On the left are the ten positions where you can add inputs to your Multiview. The order represents the position of the layers back to front. Input Ten is the top layer, whereas input One is the furthest layer in the back.

Input Multi View Example
Once you have selected all your inputs, there are a couple of options for moving them around. You may be satisfied with the layout of the template you choose. But, if not, you can click and drag to move the elements around in the window at the bottom. Holding the shift key while clicking and dragging will resize the input keeping the aspect ratio in scale. To gain more control, you can click the Position button next to each layer and use the sliders to adjust the layers position.
Saving Templates
Once you have a layout you like and think you may want to use it again for other MultiView setups, you can save it as a template. Just go back to the templates in the upper right and click Add. When you load a new template it basically imports the settings you have created for each layer. So, as you add new inputs to each layer, they will automatically include the Zoom, Pan, Rotation and Crop properties saved inside of that MultiView preset.
Once you know how to create a MultiView from scratch, it is just as easy to create one from an existing input. This is great if you wanted to add something like a logo or title to an image or video input.
Once you have a MultiView created, you can even use them within other MultiViews. When creating a new MultiView and selecting the inputs, you can choose existing MultiViews from the drop-down menu.
There is really no limit to the creative ways you can use your inputs to make scenes and templates with multiple inputs on one screen. Even better, you still have access to your overlay channels for even more options.
Pro Tip: Use your overlay channels when you want to quickly show or hide inputs on screen. Use MultiView when you want to build a more complex scene that will be a base layer in your production that you can switch to.
Start Learning vMix
- What is vMix. Learn here
- Getting Started with the vMix interface here
- Learn how to work with vMix inputs here
- Mixing Inputs Together with vMix Multiview here
- Learn about vMix titles here
- Learn how to mix Audio in vMix
- Learn how to use VST3 audio plugins with vMix here
- Learn all about vMix settings here
- Learn about how to use vMix Full Screen and Multiview here
- Learn how to record video with vMix here
- Learn how to live stream with vMix here
- Learn how to use vMix video overlay channels here
- Learn how to make Stinger Transitions in vMix here
- Learn how to use social media comments in your live stream with vMix Social here
- Learn how to use vMix shortcuts here
- Learn how to use GT Title Editor to make custom vMix titles here
- How to use vMix Call to bring guests in your live stream here
- How to control vMix remotely with the web controller here
- How to use vMix color correction tools here
- How to use virtual sets with vMix here
- How to use NDI with vMix here
- How to control PTZ cameras in vMix here
- Learn how to connect vMix with Zoom using the virtual webcam output here
- Learn how to use automated playlists with vMix here
- Learn how to use data sources with vMix here
- Learn how to use vMix triggers here

Continue reading